Google Apps for Education at Rhodes University
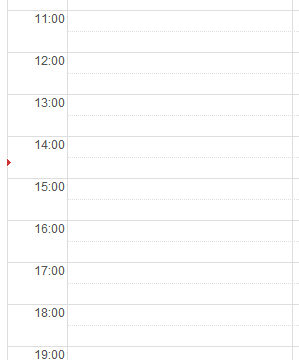
Click on the calendar block at the date and time where you want to make the entry.
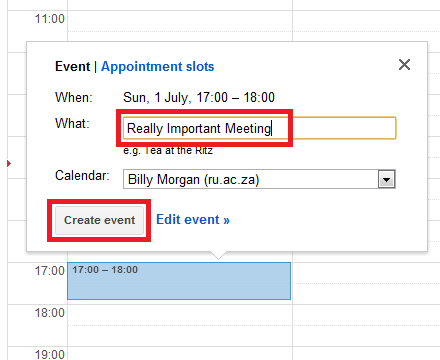
Type the name of the event and then select "Create Event".
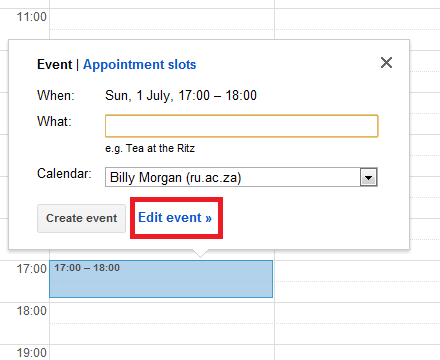
Click in an appropriate slot as above, but instead of selecting "Create event", select "Edit event".
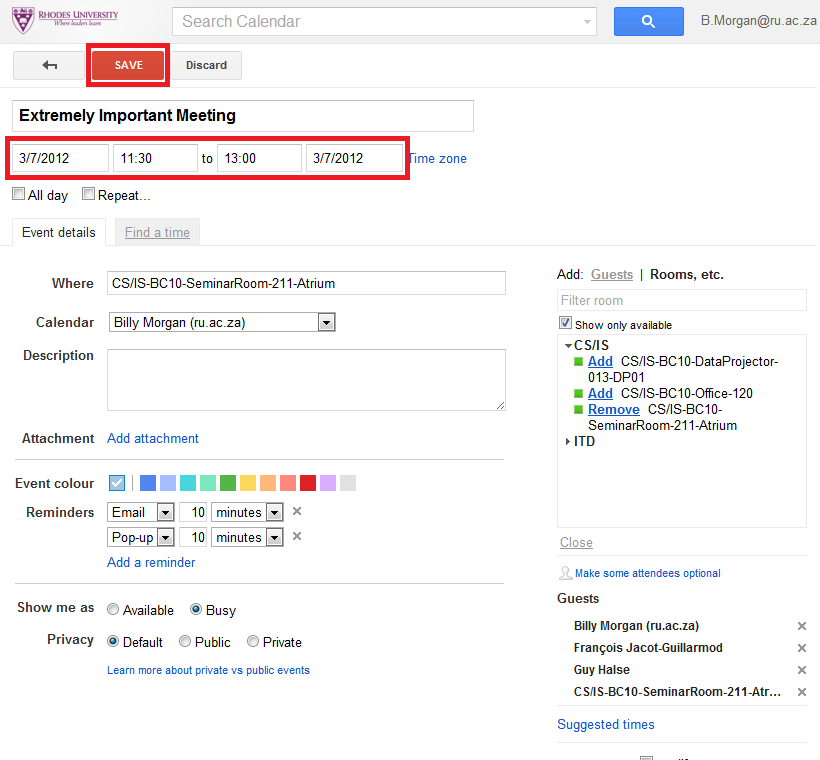
A dialog box with more options opens.
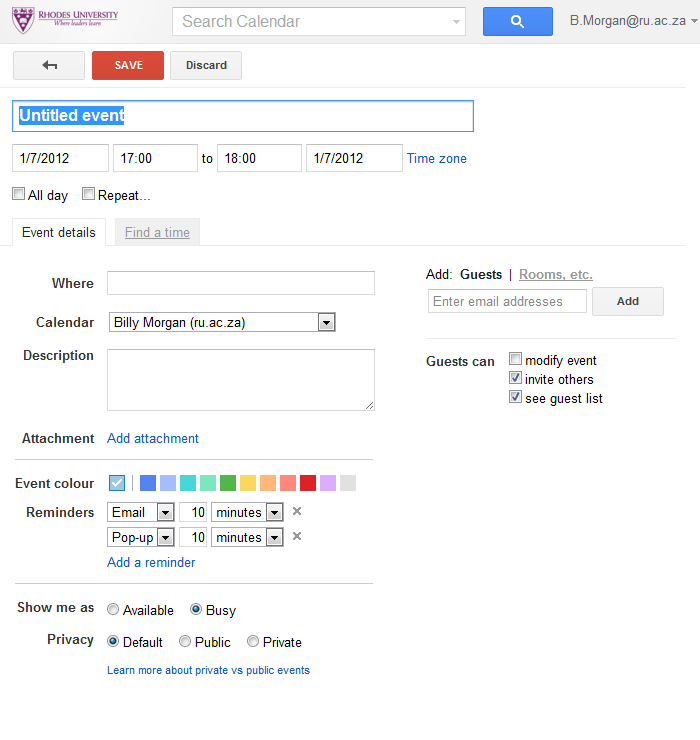
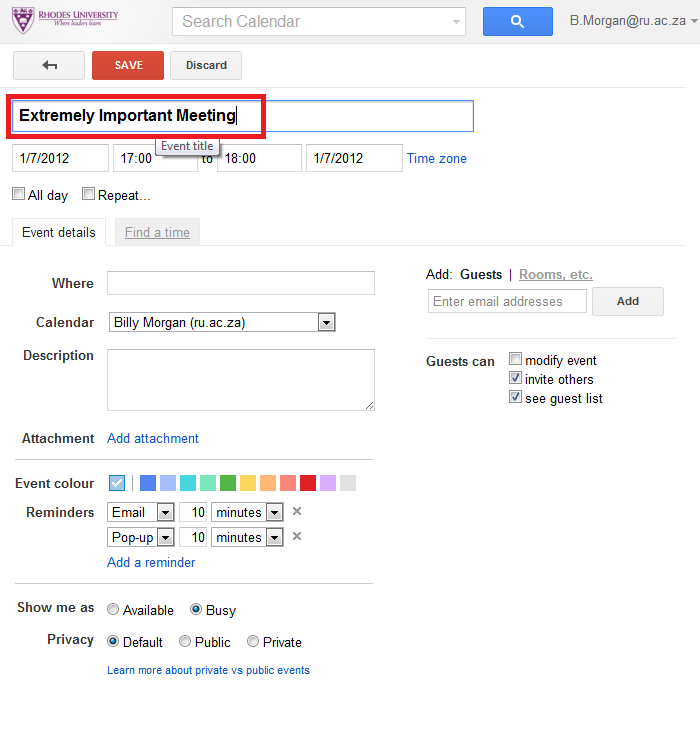
Type in the "Event title" for the event.
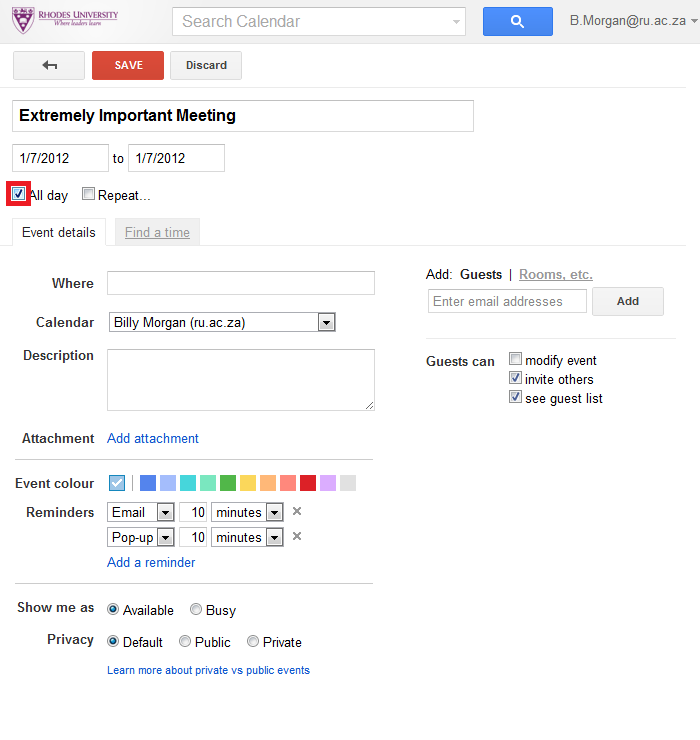
If all day event, select the "All day" tickbox.
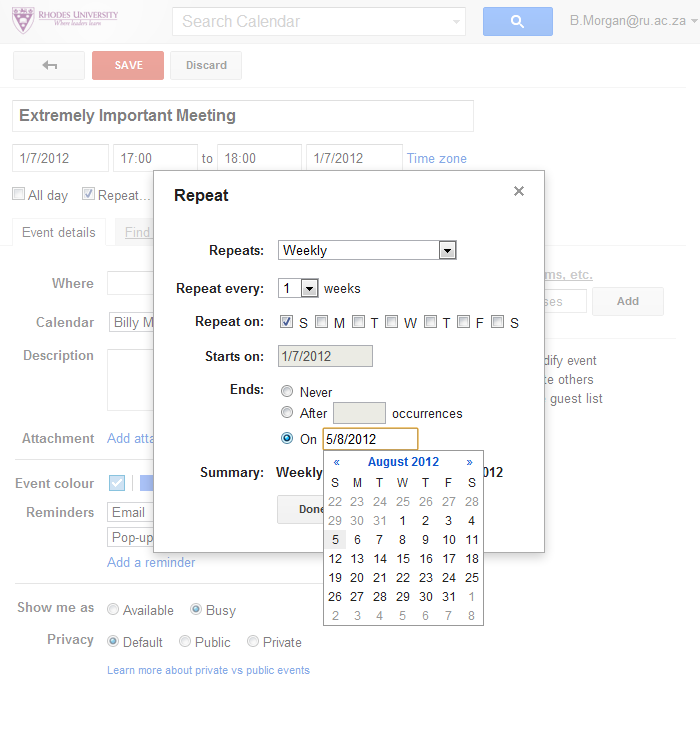
If the evnt repeats regularly, select the "Repeat" tickbox.
A dialog box for the various repeat options opens.
Select the time period that the event must repeat on.

Note that you can choose the end date from a date picker.
Select "Done" when complete or "Cancel" if you decide not to repeate the event.
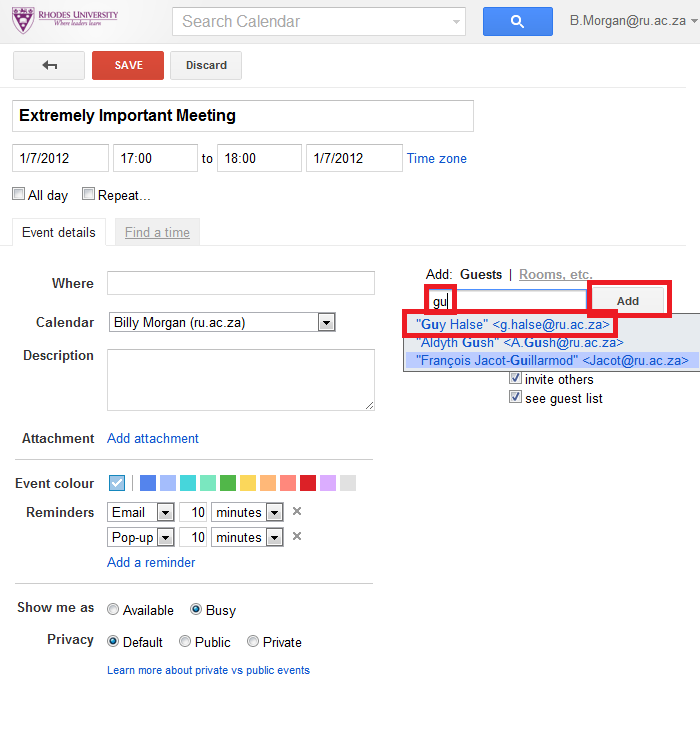
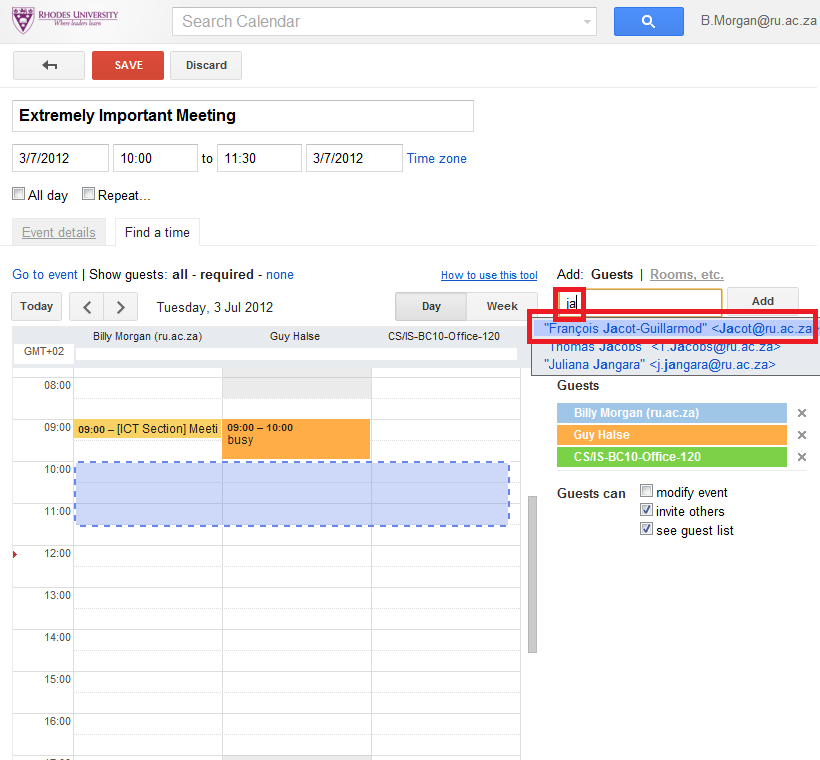
In the "Guests" field, start typing in the name of any guests - note that you are given a picklist that narrows the choices as you give it more information.
Select the person you want from the narrowed list and then click the "Add" button.
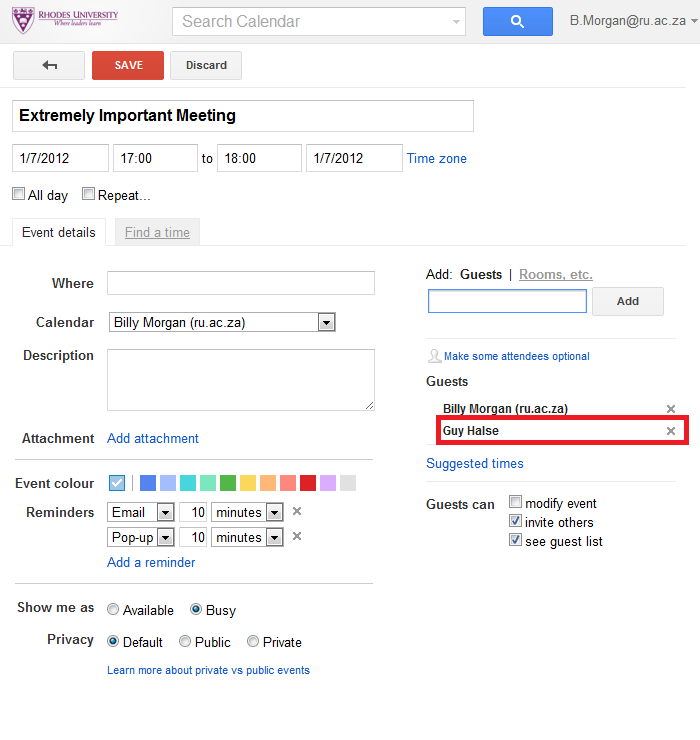
The guest is now added and you will have some further options when you save the event.
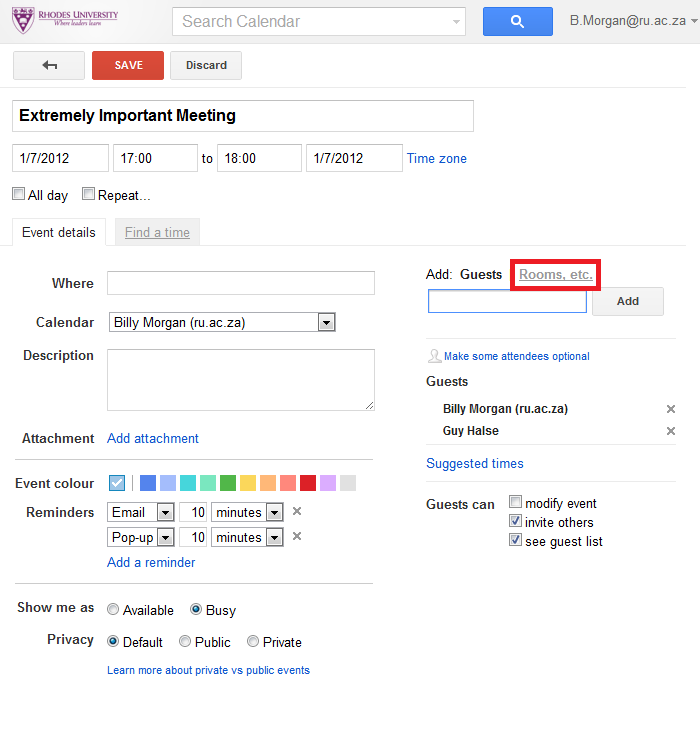
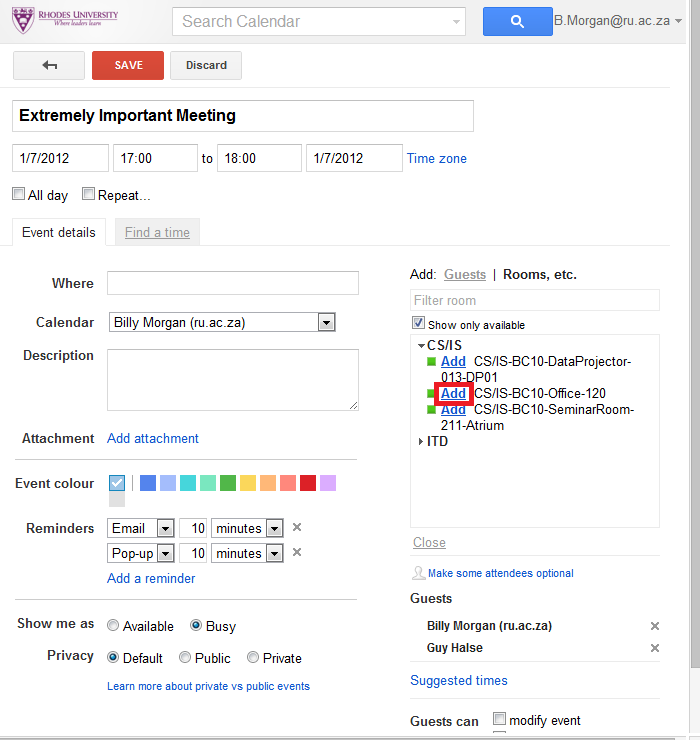
Click on "Rooms, etc" to add in any resources that have been made available via the Resources Calendars.
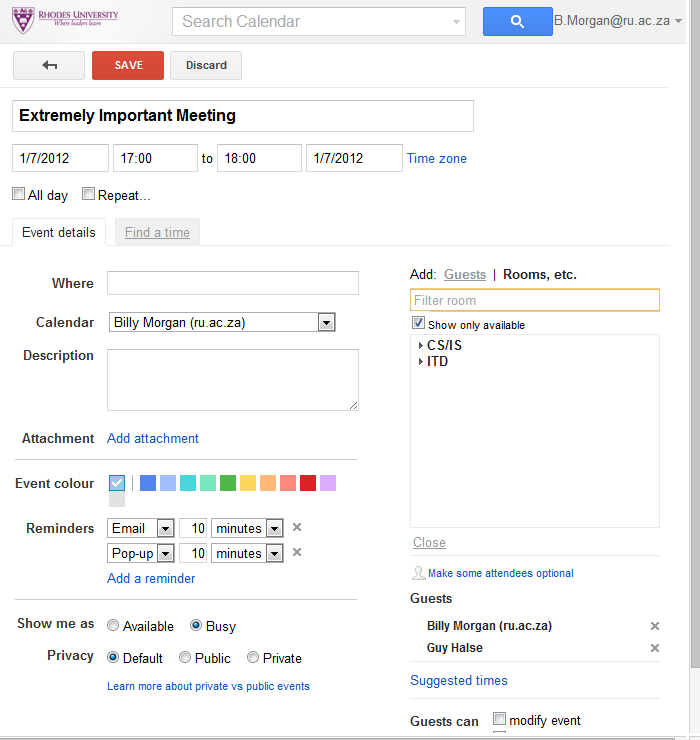
You can either type in the name of the room or select it from the drop down menu.
Note that the default is to only show resources that have not already been booked by means of the ticked "Show only available" option. It is possible to untick this and include any resources that may be shared - for example if the initial meeting place was the foyer of a building, another group may have already chosen this, but you would also be able to use the space for assembling your group as well.
Choose the room or resources - in this case we select CS/IS-BC10-Office-120 by clicking the "Add" text.
Note: Once there are more than 10 of a resource separated by a "-", those get collapsed into a drop down list. For this reason, the name CS/IS-BC10-Office-120 was specifically chosen as the first part of the name "CS/IS" will collapse to all options for the Computer Science and Information Systems departments, "BC10" is the building code for the Hamilton Building, resulting in all options for that building collapsing to a list.
As soon as "Add" is clicked the room is automatically added to the "Where" field. Additionally, the "Add" option changes to "Remove" in case you need to remove the resource at some stage - for example if the venue needs to be changed.
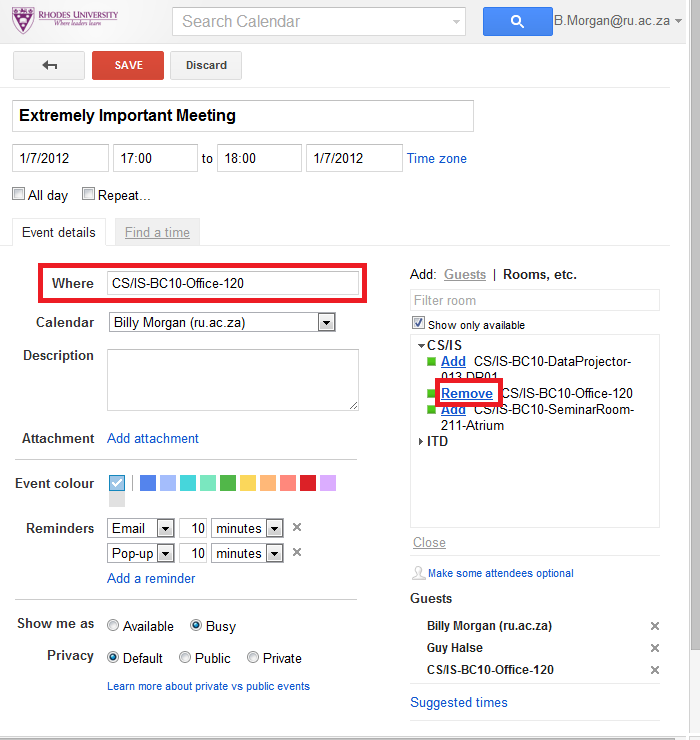
For meetings where you know that the person is available at the required time, you can now simply "SAVE" the event. However, if you have selected multiple guests, you need to check when they are available. To do this, you now need to find a time that suits everyone and when the venue is available.
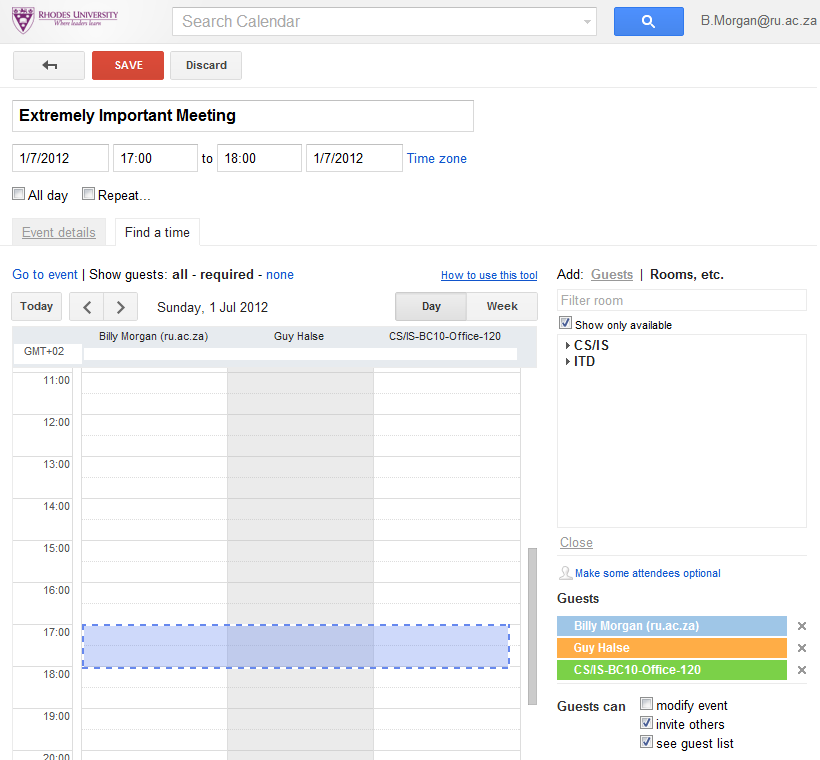
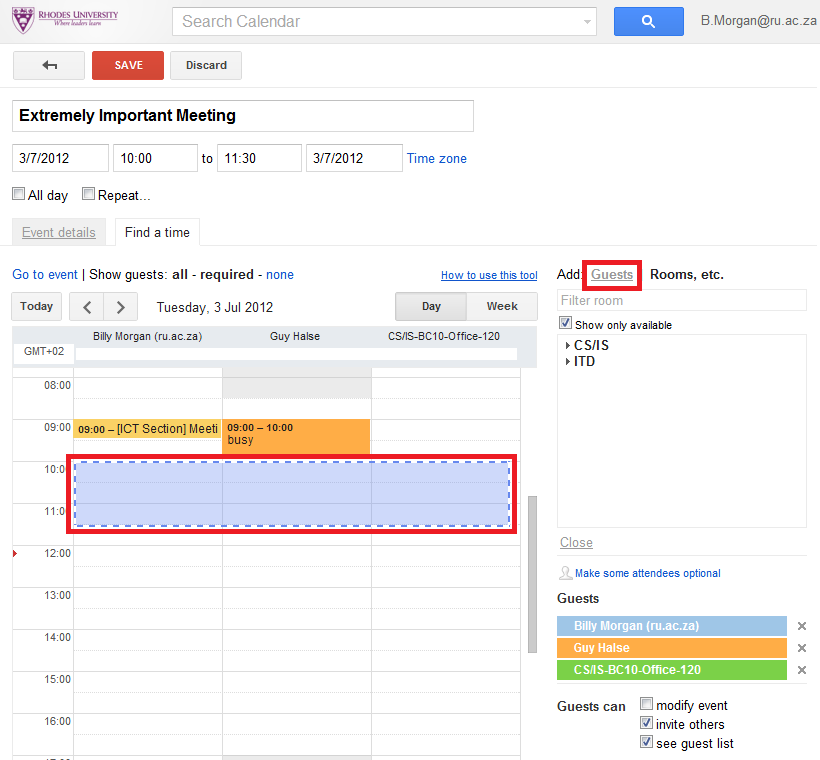
Click on the "Find a time" tab.

A new dialog opens up where each of the attendees and resources is displayed in a column. The initial scheduled slot is displayed as a blue block across all the resources.
7pm on a Sunday is not the ideal time for this meeting, so we need to find a more suitable time.
Use the controls to change the meeting date to, for example, Tuesday 3 July 2012.
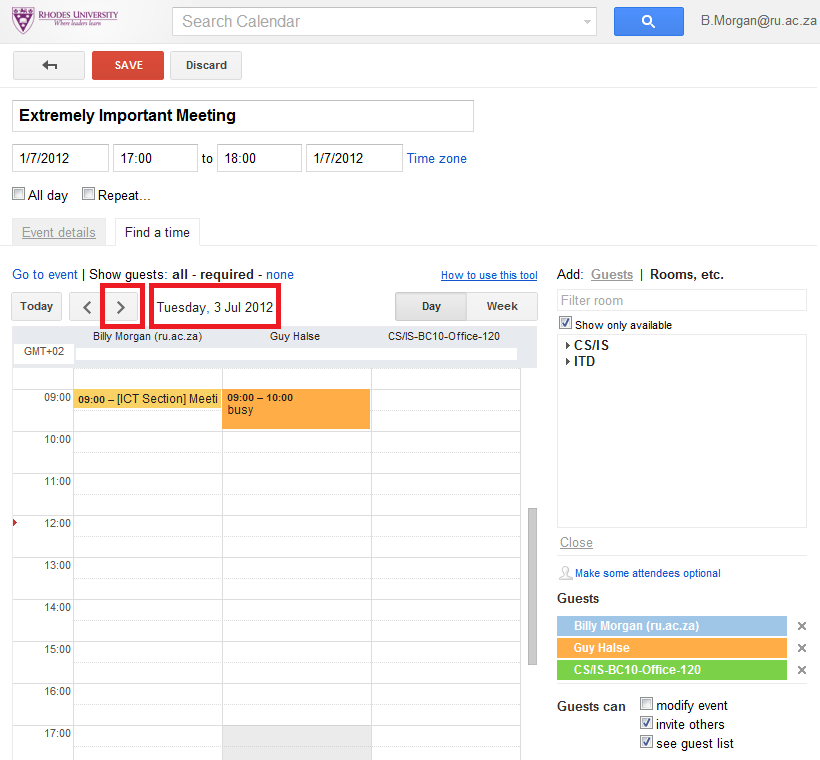
Use the mouse to create a new block at the desired time - in this case we also lengthen the meeting to 90 minutes.
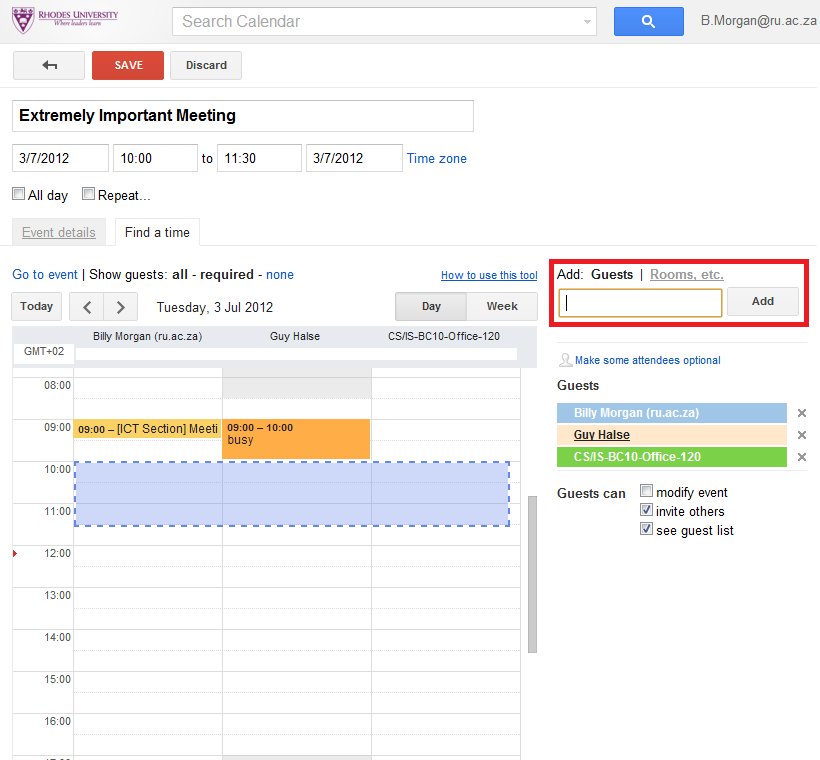
We realise that we need to invite another guest, so we do that by clicking on "Guests".
We go to the area for selecting a guest.
We add the guest as we have done previously.
Our additional guest is added.
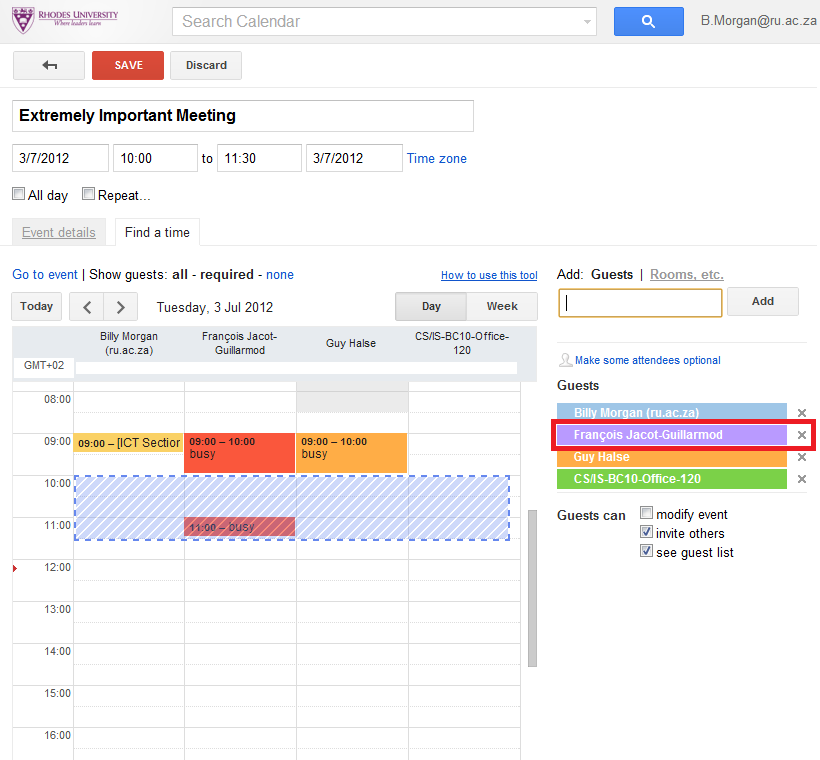
We now also need to change the venue, so we "Remove" the current one and "Add" a new one.
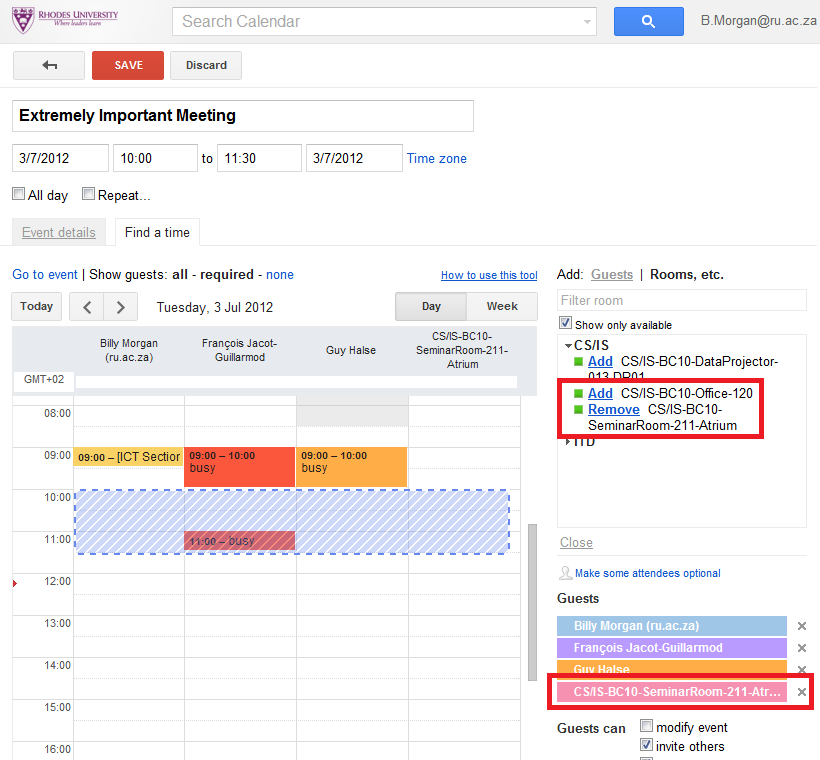
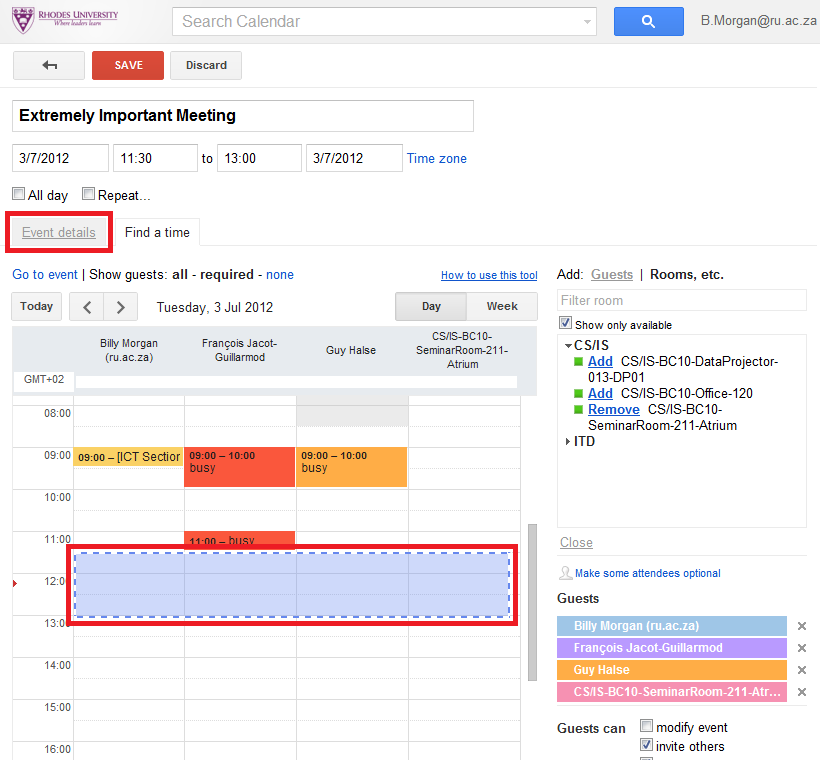
We now reposition the box representing our meeting time to be in an area where no-one has any other commitments.
We then select the "Event details" tab again.
In our Event details view we can now see that the date and time have been changed to the one that is suitable for all attendees.
We add in any other details such as a "Description" or "Reminders" and then click on "SAVE".